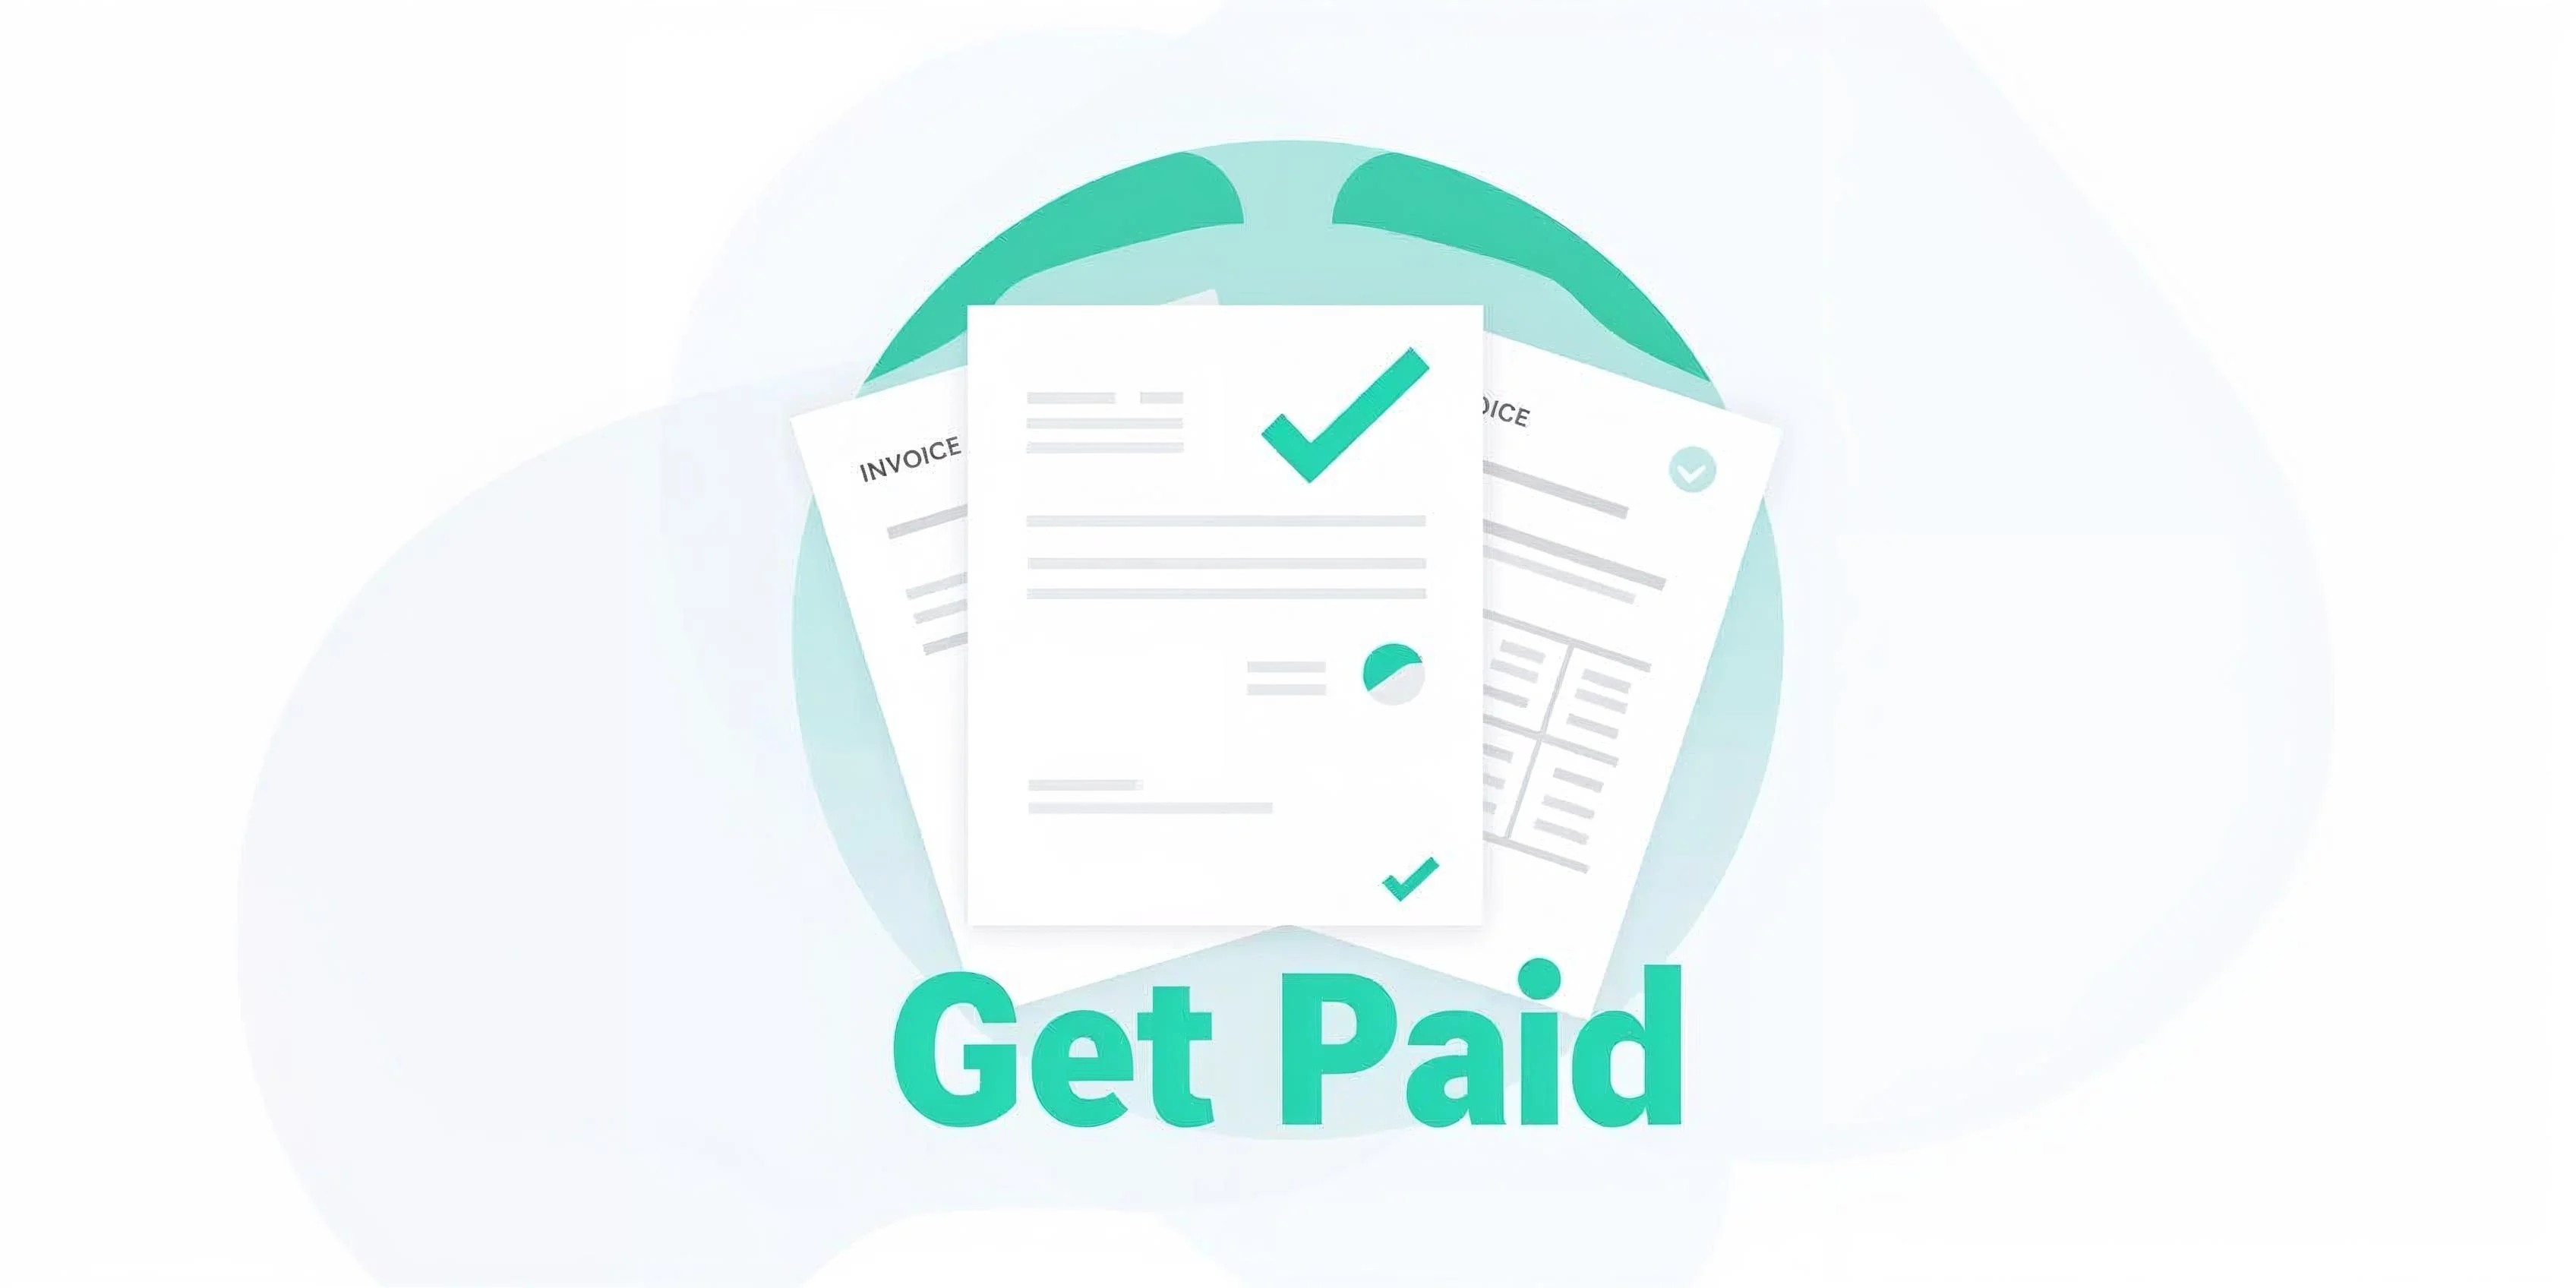
Key Takeaways
- Most freelancers skip the quote and jump straight to invoicing — this is the #1 cause of scope creep and payment disputes
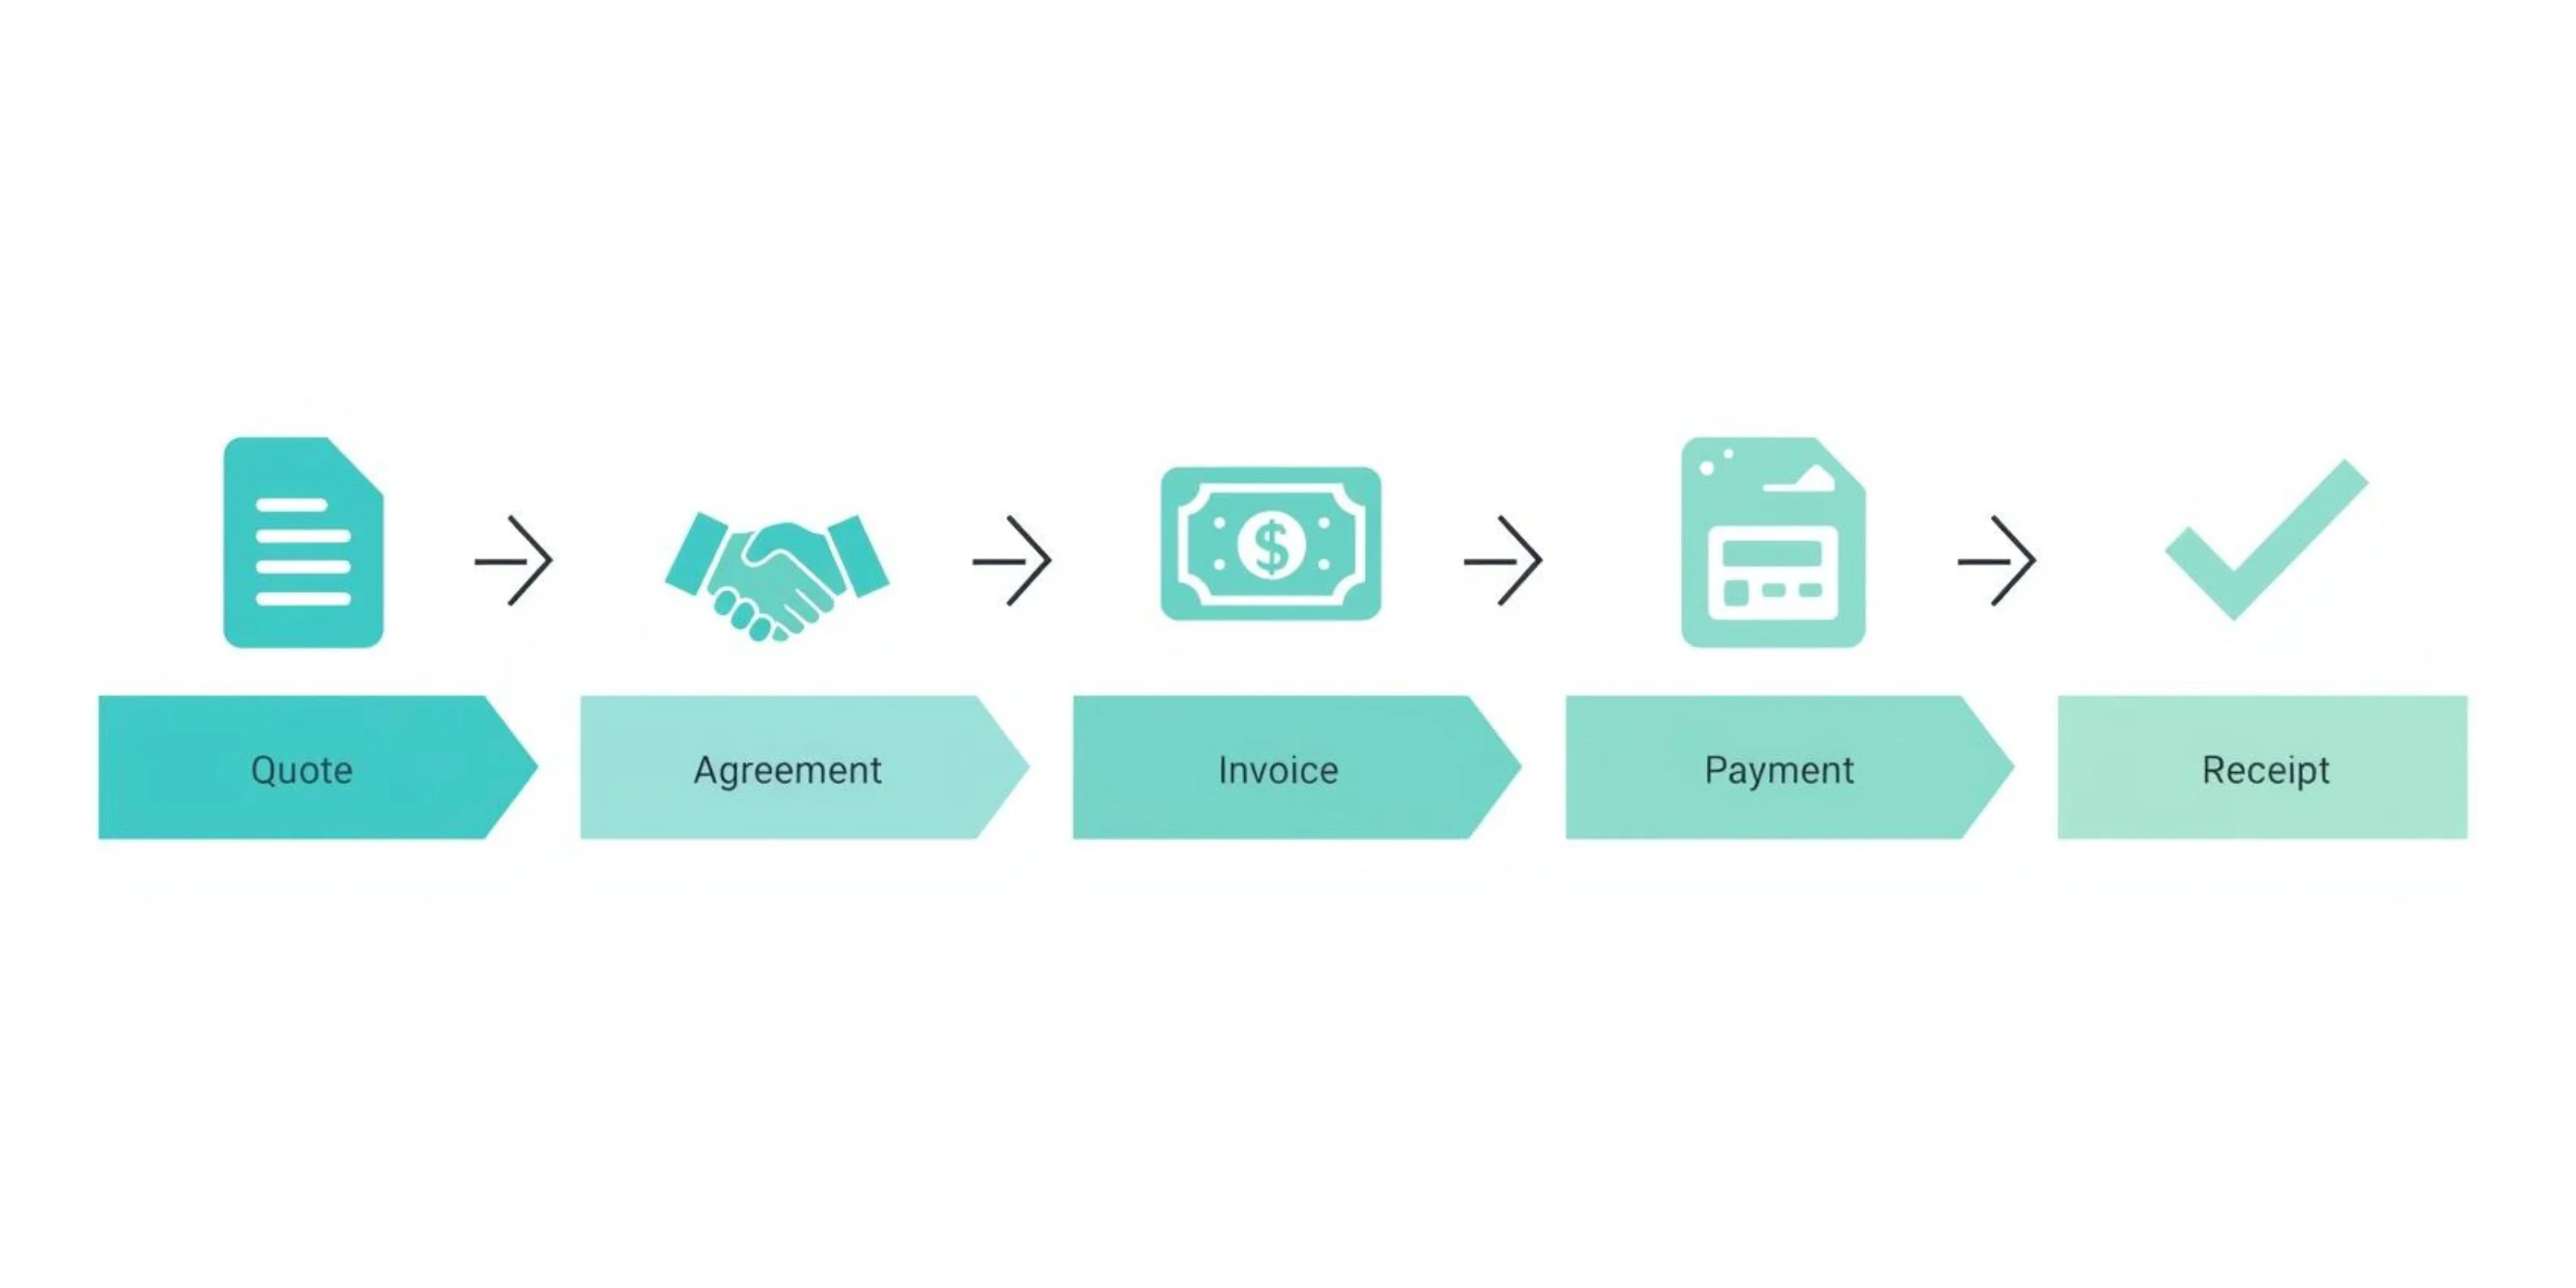
- The workflow is Quote → Work → Invoice → Payment → Receipt. Each document protects you differently.
- You don't need accounting software to send professional documents. A free generator with auto-calculations and PDF export covers 90% of freelancer needs.
- Payment terms matter more than you think — "Due on receipt" gets paid 1.5x faster than "Net 30"
The Three Documents Every Freelancer Needs (And Why)
Most freelancers only think about invoices. But invoices are step 3 in a 5-step process:
- Quote — "Here's what it'll cost" (before the work starts)
- Agreement — Client approves the quote (verbal, email, or signed)
- Invoice — "Here's what you owe" (after the work is done)
- Payment — Client pays
- Receipt — "Here's proof you paid" (after payment clears)
Skipping the quote is the most expensive mistake freelancers make. Without a written quote, you have no reference point when the client says "I thought that was included" or "I didn't agree to that price." The quote is your protection against scope creep.
Skipping the receipt seems harmless until tax season, or until a client claims they already paid, or until you need to prove income for a loan application.
Each document takes under 2 minutes to create. The time investment is tiny. The protection is enormous.
Part 1: Quotes — Setting the Price Before the Work
A quote is a promise: "I'll do this work, for this price, within this timeframe." It's not a contract, but it's the foundation for one.
What Goes in a Professional Quote
Every quote needs these elements:
- Your business details — name, address, contact info, logo
- Client details — who you're quoting for
- Quote number — for your records and theirs (QT-001, QT-002, etc.)
- Date and expiry — quotes shouldn't last forever. 14-30 days is standard.
- Line items with descriptions — be specific. "Website design" is vague. "5-page responsive website with contact form and blog" is a quote you can enforce.
- Pricing — per item, per hour, or per project. Show your math.
- Tax — if applicable in your jurisdiction
- Terms and conditions — payment schedule, revision policy, what's not included
- Total — including tax, clearly displayed
How to Price: Three Approaches
Hourly rate works when scope is unpredictable (consulting, debugging, ongoing support). State your rate and estimated hours. Always cap it: "Estimated 10-15 hours at $75/hour. Work beyond 15 hours requires additional approval."
Project-based works when scope is clear (a logo, a website, a video). State the deliverable and the price. Don't break it down by hours — that invites the client to question your speed.
Value-based works when your work directly affects revenue (marketing, sales copy, conversion optimization). Price based on the value you deliver, not the time it takes. This is harder to quote but far more profitable.
For most freelancers starting out, project-based pricing with clear deliverables is the safest approach.
When to Send a Quote (And When to Skip It)
Always send a quote when:
- The project is over $500
- The scope could change
- You haven't worked with this client before
- The work will take more than a day
You can skip the quote when:
- It's a repeat client with an established rate
- The task is small and well-defined (e.g., "one blog post, $200, same as last time")
- You have a retainer agreement in place
Creating a Quote (Step-by-Step)
You can create a professional quote in under 2 minutes:
- Go to the quote maker and pick a template
- Add your business name, logo, and contact details
- Add the client's name and details
- List each deliverable as a line item with description and price
- Set tax rate if applicable
- Add an expiry date (14-30 days from today)
- Add any terms in the notes section
- Share the link with your client or download as PDF
The auto-calculations handle tax and totals. The client gets a clean, professional document — not a casual text message or email estimate.
Create a Free Quote
Professional quotes with auto-calculations. No signup required.
Part 2: Invoices — Getting Paid on Time
The invoice is where money changes hands. A professional invoice doesn't just ask for payment — it makes payment easy and removes excuses for delay.
Anatomy of a Professional Invoice
Your invoice should include:
- Your business details — name, address, email, phone, logo
- Client details — billing name and address
- Invoice number — sequential (INV-001, INV-002). Never reuse numbers.
- Invoice date — the date you're sending it
- Due date — when payment is expected (this is crucial)
- Line items — description, quantity, rate, amount for each
- Subtotal, tax, and total — clearly broken out
- Payment methods accepted — bank transfer, PayPal, etc.
- Notes — late payment policy, thank-you message, reference to quote number
Payment Terms That Actually Get You Paid
The words you put on your invoice affect when you get paid:
- "Due on receipt" — gets paid fastest. Clients treat it as urgent.
- "Net 15" — due within 15 days. Good for ongoing relationships.
- "Net 30" — due within 30 days. Standard for larger companies, but gives clients an excuse to wait.
- "50% upfront, 50% on delivery" — best for large projects. You never start work for free.
If you're a solo freelancer working with small businesses, "Due on receipt" or "Net 15" is almost always better than Net 30. You're not a bank — don't extend 30-day credit unless you have to.
The Late Payment Problem
It happens to every freelancer. The invoice is overdue. You don't want to seem pushy, but you also need to eat.
Here's a follow-up sequence that's firm without burning bridges:
Day 1 (due date):
Hi [Name], just a friendly reminder that invoice [#] for [amount] was due today. Let me know if you need anything from my end to process payment. Thanks!
Day 7:
Hi [Name], following up on invoice [#] for [amount], now 7 days past due. Could you let me know the expected payment date? Happy to resend the invoice if needed.
Day 14:
Hi [Name], invoice [#] for [amount] is now 14 days overdue. Per the terms on the invoice, I'd appreciate payment within the next 5 business days. Please let me know if there's an issue I can help resolve.
Day 30:
Hi [Name], this is my final follow-up regarding invoice [#] for [amount], now 30 days past due. I'll need to pause any ongoing work until this is resolved. If there's a billing issue on your end, I'm happy to discuss.
The key: always be specific (invoice number, amount, due date). Never apologize for asking to be paid. And always offer an easy next step.
When You Need More Than a Generator
A free invoice generator handles the creation and delivery of invoices. But some freelancers eventually need more:
- Recurring invoices — if you bill the same client monthly, automation saves time
- Payment processing — letting clients pay directly from the invoice
- Expense tracking — connecting invoices to your bookkeeping
- Client portal — a place where clients can view all their invoices
If you need these features, here's how the popular tools compare:
| Feature | Simply Online | Wave | Zoho Invoice | Invoice Ninja | |---------|:---:|:---:|:---:|:---:| | Signup required | No | Yes | Yes | Yes | | Invoice limit | Unlimited | Unlimited | 500-1K/yr | Unlimited (5 clients) | | Auto calculations | Yes | Yes | Yes | Yes | | PDF download | Yes | Yes | Yes | Yes | | Third-party branding | None | None | "Powered by Zoho" | Invoice Ninja logo | | Custom logo | Yes | Yes | Yes | Yes | | Multi-currency | Yes (30+) | Yes | Yes | Yes | | Payment processing | No | Yes (2.9%+) | Yes | Yes | | Recurring invoices | No | Yes | Yes | Yes | | Accounting features | No | Yes | Yes | Yes | | Monthly cost | $0 | $0-$16 | $0 (capped) | $0-$14 |
The honest breakdown:
- Simply Online is best when you need a professional invoice right now — no signup, no limits, no branding. It's an invoice generator, not accounting software.
- Wave is best when you want free accounting + invoicing in one place. Just know their customer support has serious issues.
- Zoho is best when you need invoicing with time tracking and a client portal. Accept the "Powered by Zoho" branding or pay to remove it.
- Invoice Ninja is best for developers who want to self-host. The 5-client limit on the free hosted plan is too restrictive otherwise.
Creating an Invoice (Step-by-Step)
- Go to the invoice maker and pick a template
- Add your business details and logo
- Add the client's billing information
- Set an invoice number (use sequential numbering — INV-001, INV-002)
- Add line items with descriptions, quantities, and rates
- Set your tax rate — the tool calculates totals automatically
- Choose a due date and add payment terms in the notes
- Share the link or download as PDF
Create a Free Invoice
Professional invoices with auto-calculations. Unlimited, no signup.
Part 3: Receipts — Proof of Payment
Receipts are the most overlooked document in freelancing. You get paid, you're happy, you move on. But receipts protect both you and your client.
When to Issue a Receipt
- Cash payments — always. There's no digital trail without one.
- Client requests it — some companies need receipts for their expense reports.
- Tax purposes — your receipt trail is your income documentation.
- Rent payments — tenants need receipts for HRA tax claims. Landlords are legally required to provide them in many jurisdictions.
- Deposits — when a client pays the first 50% upfront, receipt it.
What Goes in a Receipt
- Your business details — name, contact, logo
- Client/customer name
- Receipt number — sequential, like invoices
- Date of payment
- Description of what was paid for — reference the invoice number
- Amount paid and payment method
- Balance remaining (if partial payment)
The Receipt Tool Landscape
Most "free" receipt generators have a catch:
- ExpressExpense — only 1 free template, everything else requires a membership
- MakeReceipt — watermarks every free receipt (unusable professionally)
- Wave — requires a full account setup
- Canva — design tool, no auto-calculations (you're drawing a receipt, not generating one)
- Simply Online — 16 templates, auto-calculations, no signup, no watermark. Includes a dedicated rent receipt template with landlord/tenant fields.
Creating a Receipt (Step-by-Step)
- Go to the receipt maker and pick a template (or the rent receipt template if applicable)
- Add your business details
- Add the customer/tenant name
- Add line items or the payment amount
- Select payment method (cash, card, bank transfer, etc.)
- Download as PDF or share the link
Create a Free Receipt
16 templates including rent receipts. No signup, no watermark.
Putting It All Together: A Real Freelance Project
Here's how the full workflow looks for a typical project:
- Client reaches out about a project
- Discuss scope, timeline, and budget
- Send a quote with itemized deliverables and expiry date
- Client approves (save their approval email)
- Do the work
- Send an invoice referencing the quote number
- Follow up if payment is late (day 1, 7, 14, 30)
- Payment received
- Send a receipt confirming payment
- File everything for tax season
Total cost for the documents: $0. Total time: under 10 minutes across all three.
The quote protects you from scope creep. The invoice gets you paid on time. The receipt proves you got paid. Together, they're the foundation of a professional freelance business.
More freelancing guides
We write practical guides for freelancers and small businesses. No fluff, no spam.
No spam. Unsubscribe anytime.